
Want some, but don't have the time to make your own?
Check them out at my Etsy shop: https://www.etsy.com/shop/RoRoBoatDesigns
Like most of my projects, there started in an effort to create something that replaced a disposable and that I was interested in having. The idea came from a recent, very relaxing trip to the spa - my sister and I treat each other for birthday gifts each year. During the facial the esthetician wiped away my mask with a cloth round. My eyes were closed and I was too relaxed to give it much thought, but as I was at home trying to wipe away my own pathetic attempt at a mask with my fingers, inspiration struck: I could make something like what she had used and I had most of the materials on hand. I used scraps from quilt backing that I had laying around waiting to be turned into something wonderful.
First, I collected supplies:
- Flannel - scraps would suffice for this project
- terry cloth - again you could make one round with a small scrap
- a fabric marker
- pins
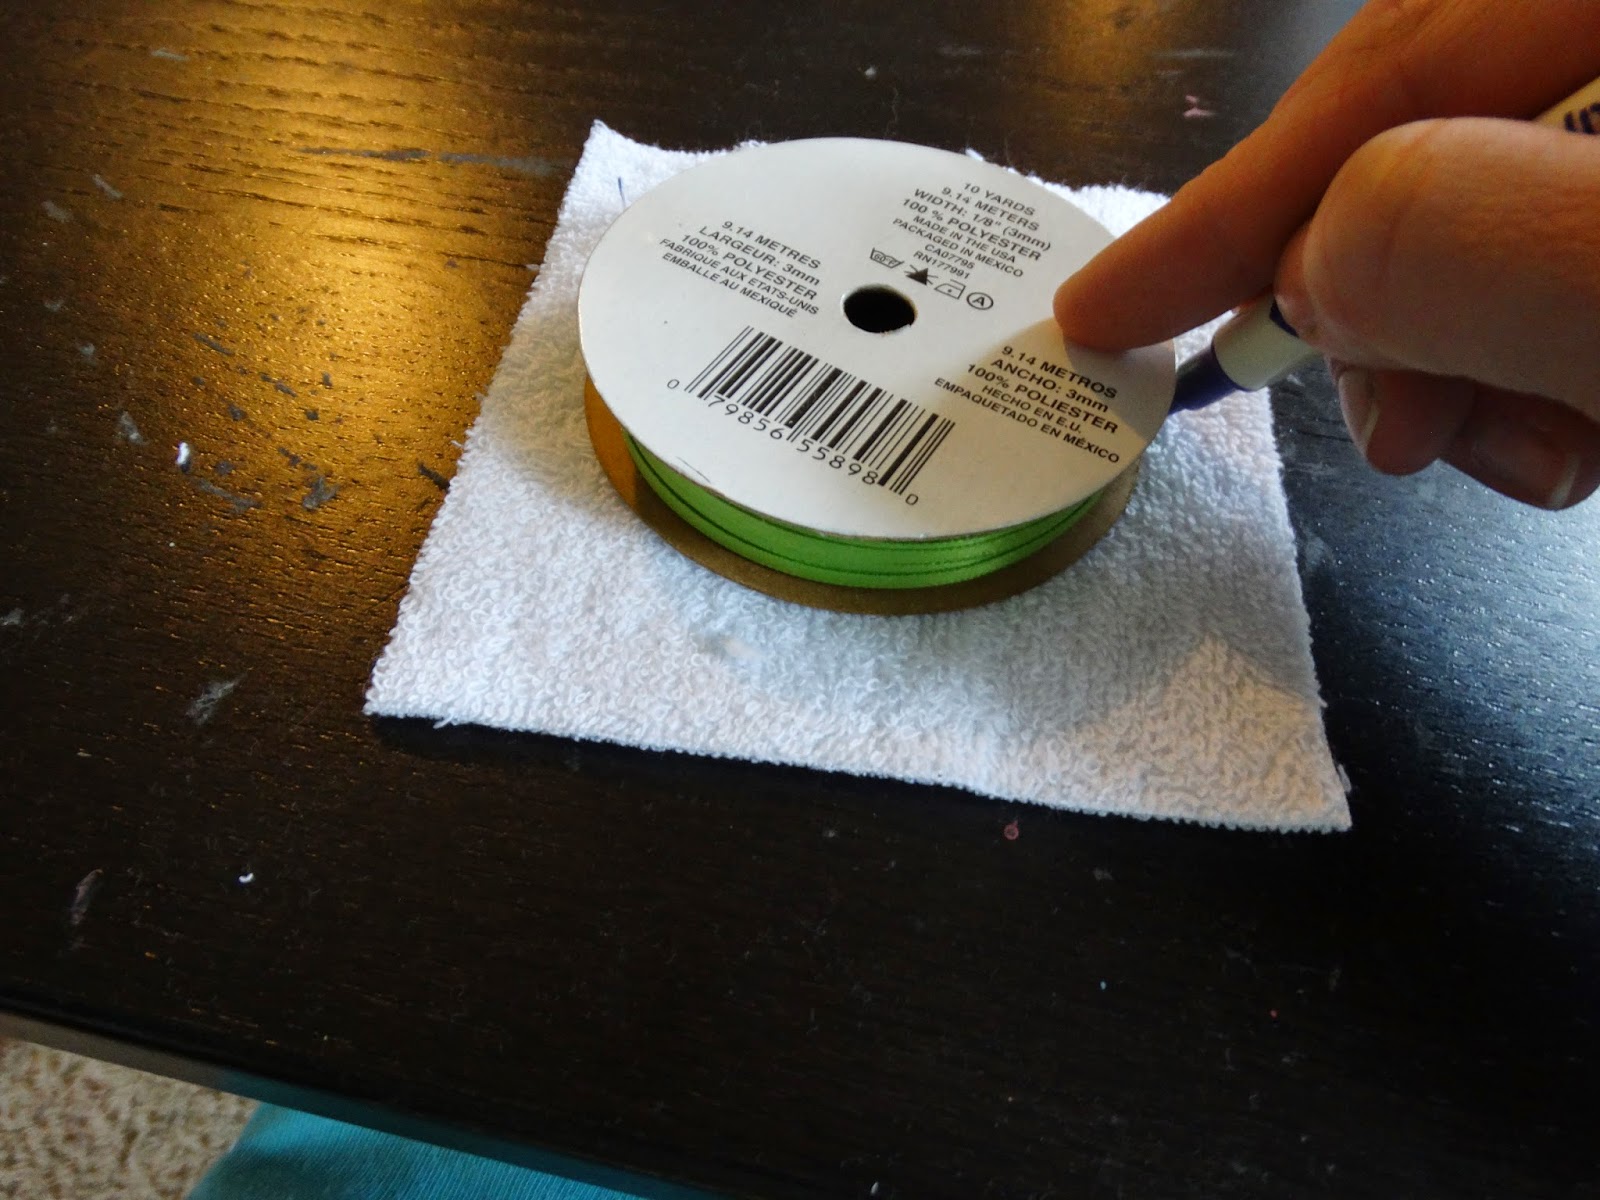
- something circular to trace (I used a roll of ribbon)


The finished result looks like this:

I have loved using these - they take me back to that trip to the spa every time and have motivated me to wash my face more regularly. In addition, they are super cute in my bathroom and add some extra aesthetic appeal. My husband is happy too - they are, like many reusable products, a money-saver.
No comments:
Post a Comment