
Want one, but don't have the time to make your own?
Check them out at my Etsy shop: https://www.etsy.com/shop/RoRoBoatDesigns
Applique Onesies are a great personalized, unique baby gift.
You will need the following supplies:

- No Sew Fusible Interfacing
- cotton fabric - scraps usually work for me, but a fat quarter or 1/4 yard would be a good option if you didn't have scraps on hand - this is a great way to upcycle old scraps that you may have on hand
- optional: a Cricut
- optional: a Cricut


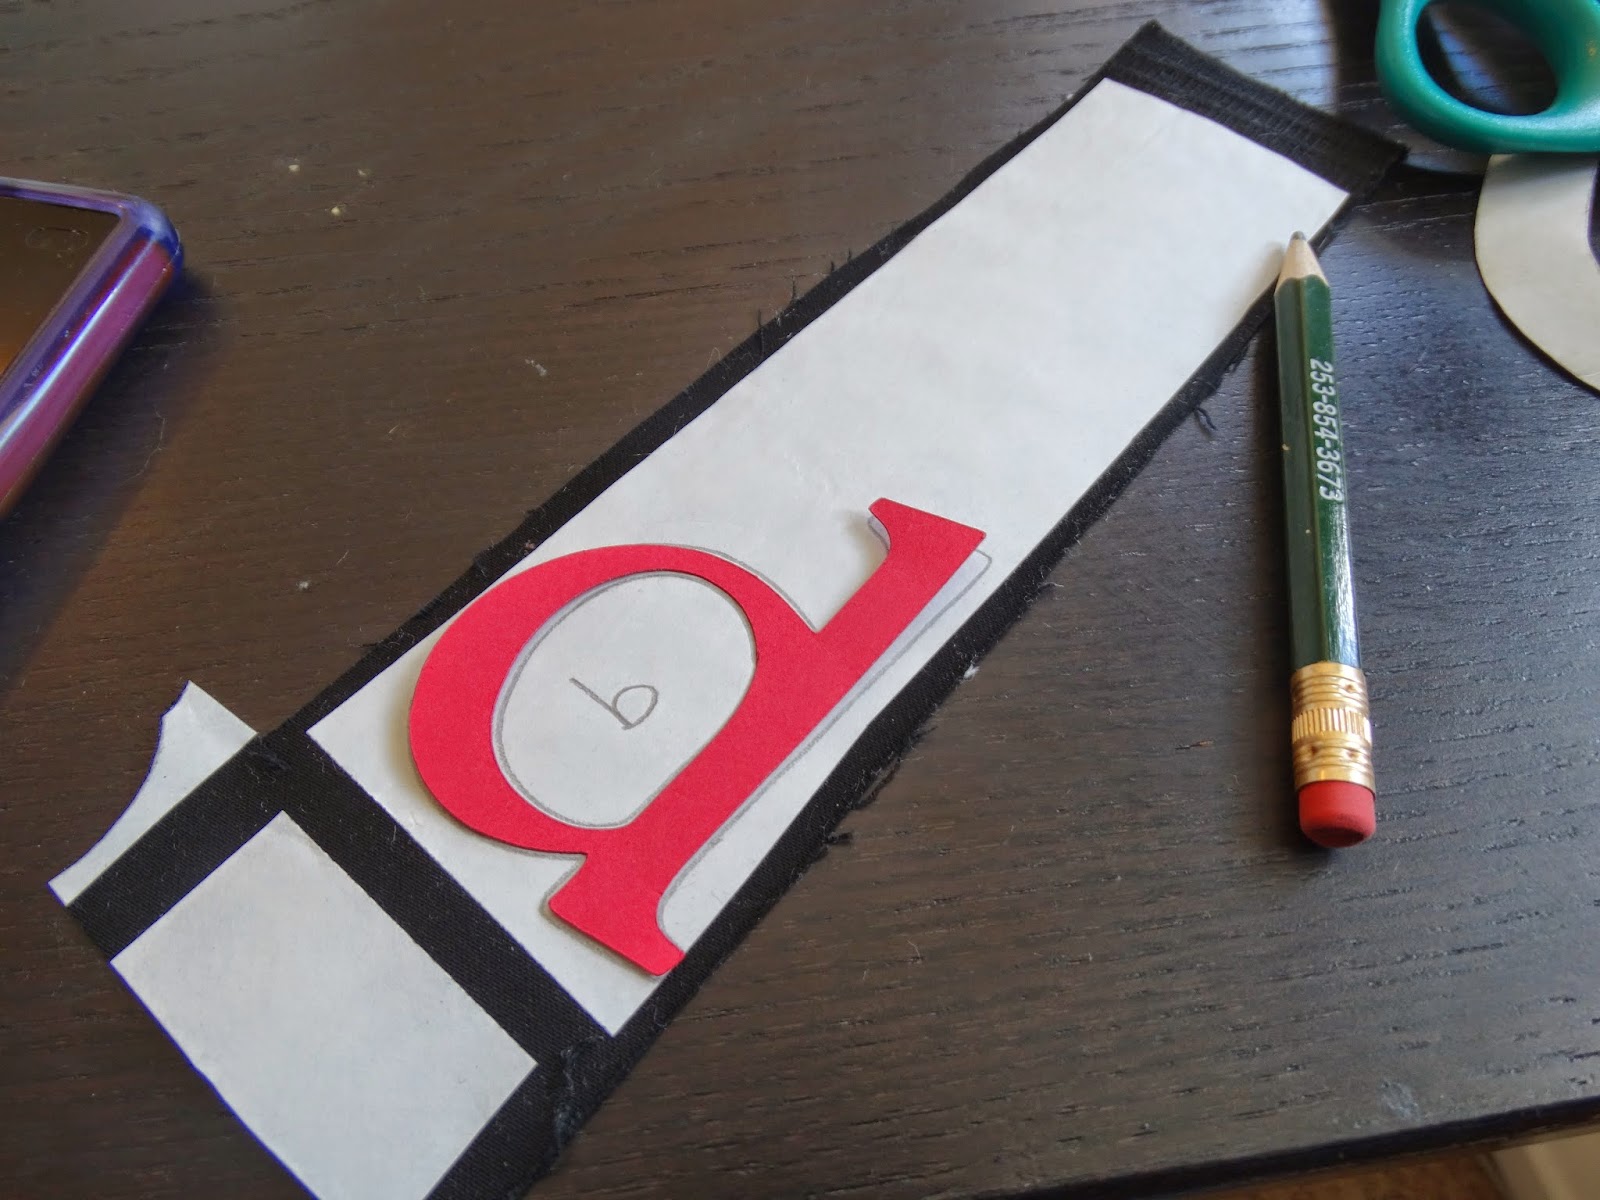
Once all of your pieces are ironed and cut, lay them out carefully on the onesie.

If you are going to add stamping, I would suggest laying everything out and BEFORE ironing, complete your stamping - this is just in case the stamping does not go as planned. It is super frustrating to have everything ironed and then mis-stamp and have to scrap everything. This way, you can cover up the mistake by moving your image, or start on another onesie. You should slip something - a small piece of cardboard - inside the onesie, so that your ink doesn't bleed through.

I use Stayzon ink. I stamp VERY carefully and then heat set - this means running an iron over the stamping, for apx. 2 minutes. I just do this when I iron on my image.

Peel the paper backing off of the pieces and iron all of your pieces into place.


Some people will stop here and the webbing claims that it will stay, but I like to guarantee the security by adding a stitch around the edges - making sure to back-stitch (stitch backwards and then forwards again) at the beginning and end of each seam.


No comments:
Post a Comment